Home    Awards/Events    Gallery    History #8732    pre-disassembly    disassembly    reassembly    Links
                                                                                       

Reassembly - Components & Accessories

Click on images for larger picture


  Before
    

  After


June 3-16, 2007 Taking apart the original heater. 
Above is the casing for the heater with some of the vent doors removed.
Also the heater core, motor, and fan after being cleaned and repainted. 
All pieces of the heater have been sand blasted and either painted or powder coated.


August 28, 2007 (Modified June 2014) The Arnolt heater bypass fitting new/old.  At the time of installation the
paint had started to chip off the fitting.  I went ahead and stripped the fitting down to bare copper.


December 2013 - June 2014  Installation of the heater.
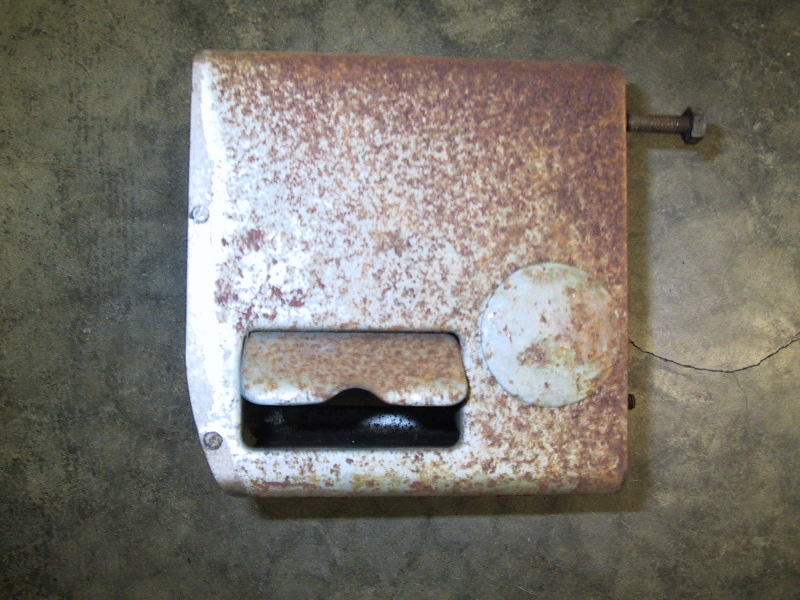
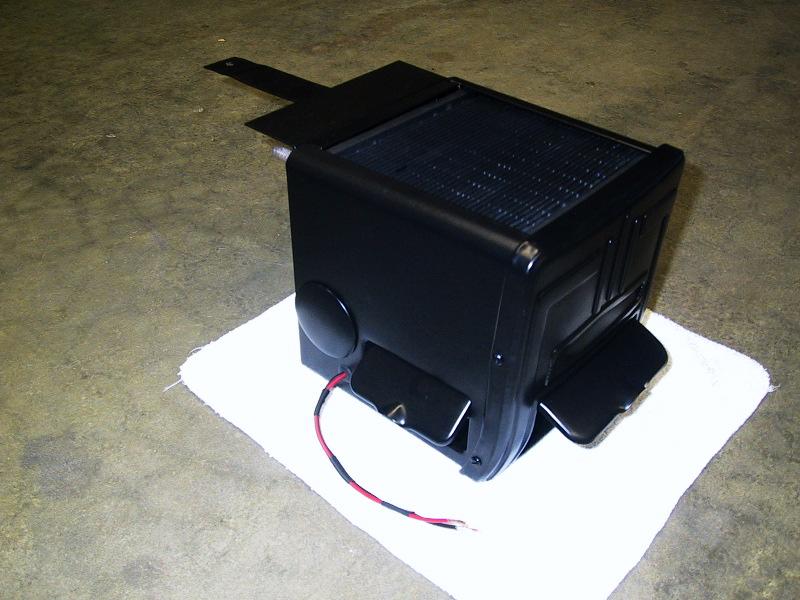
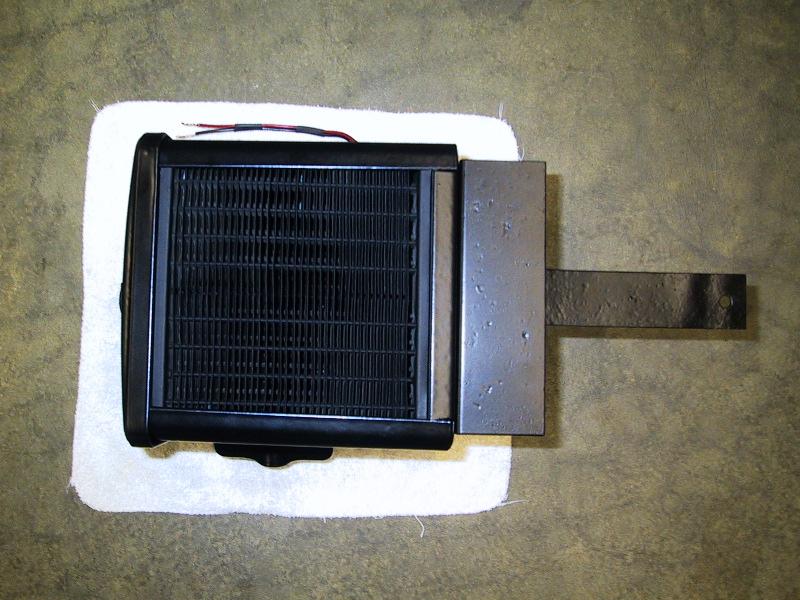
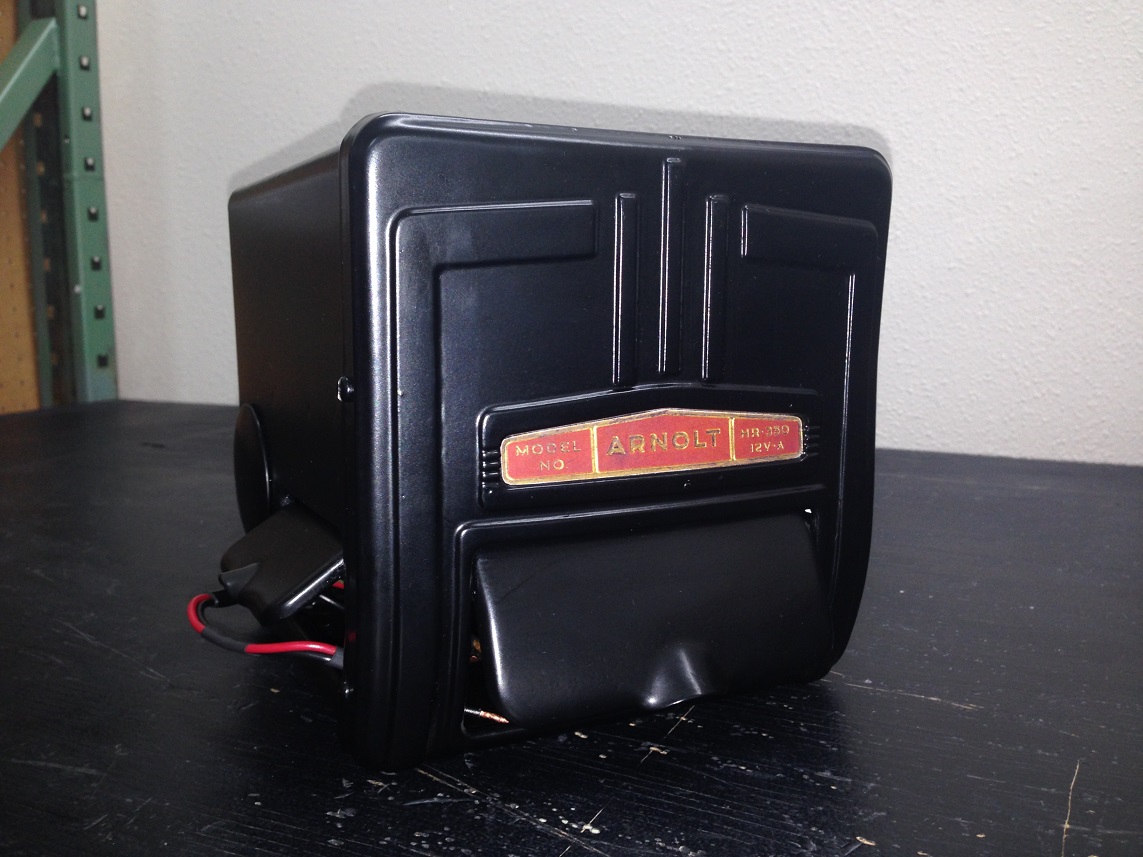
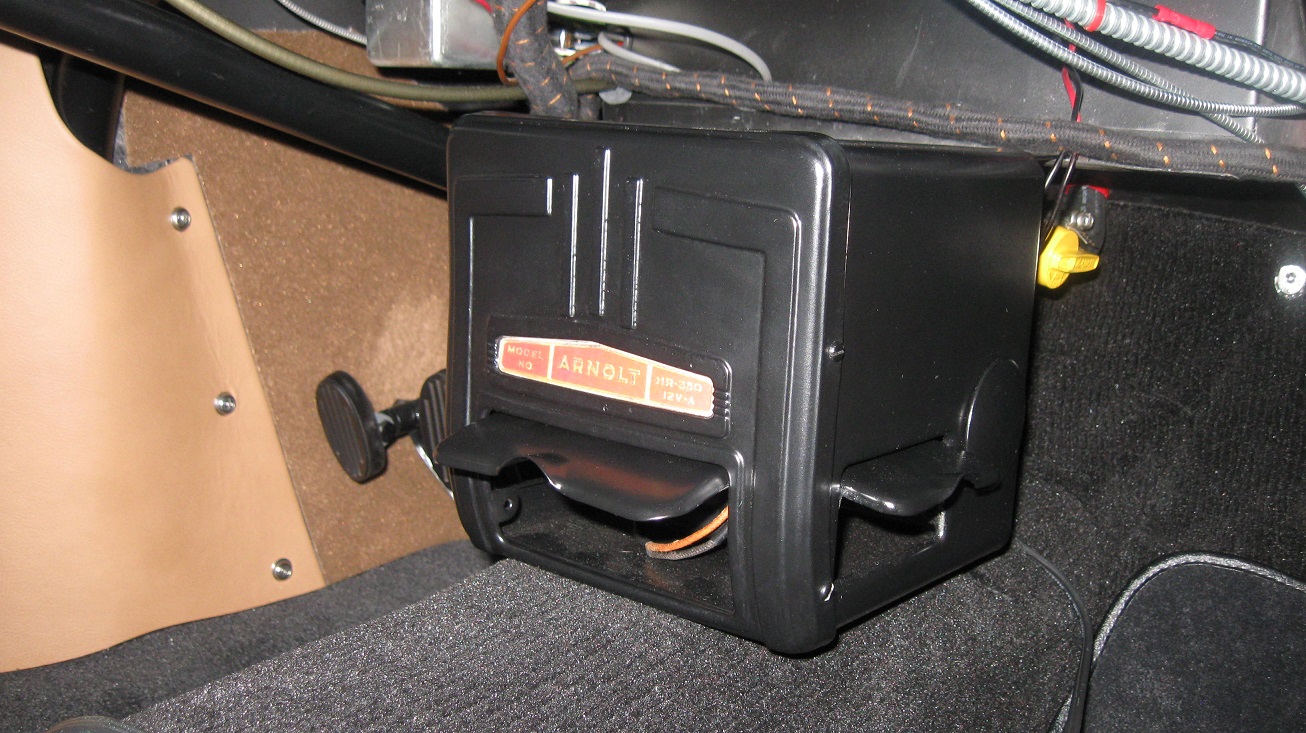
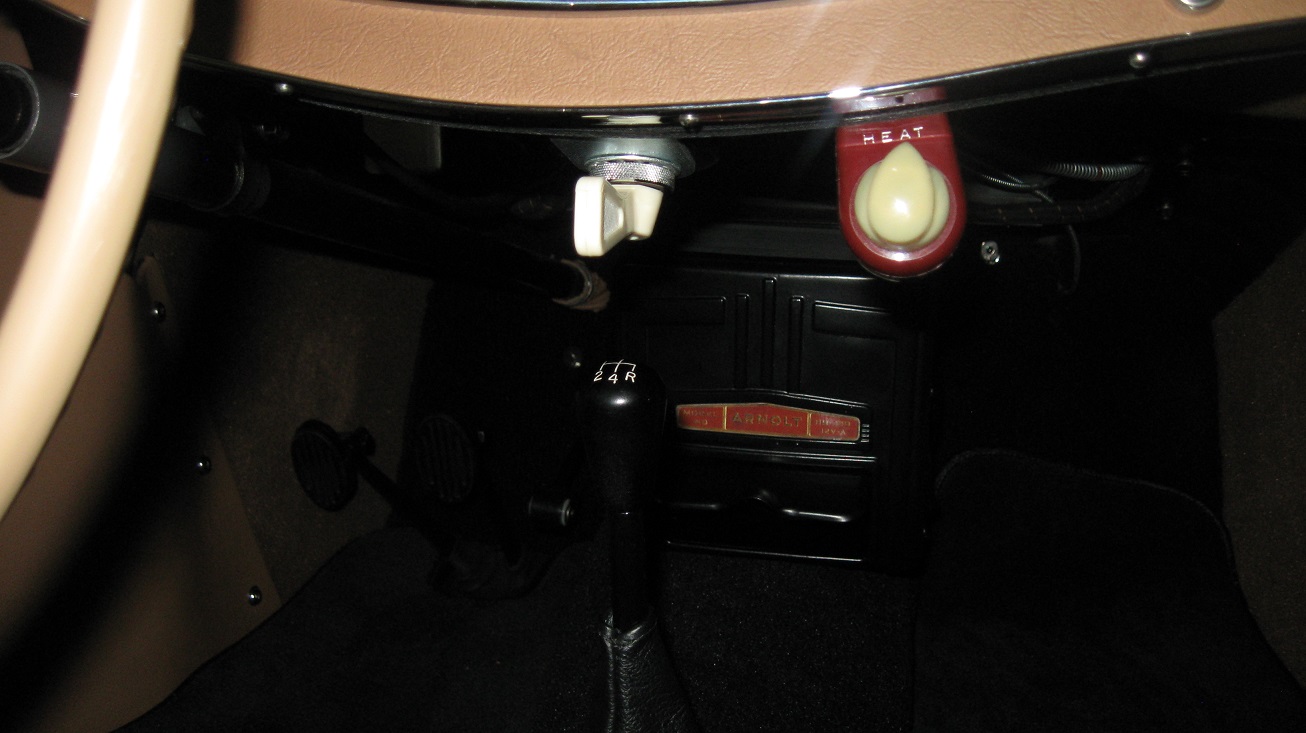
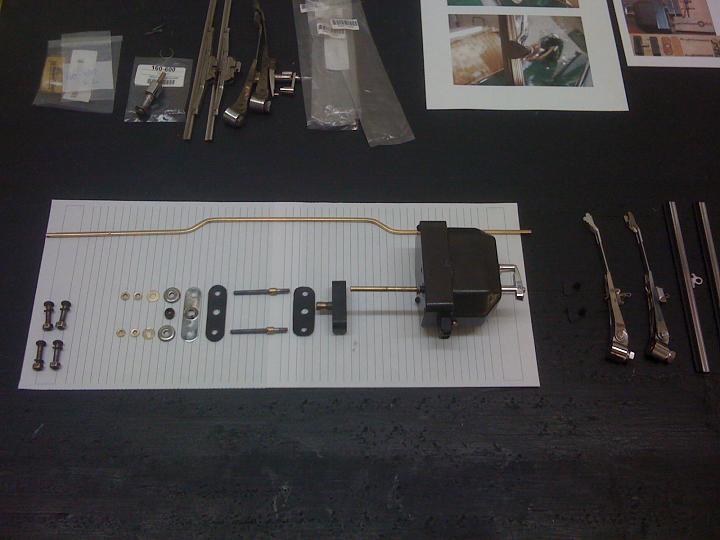
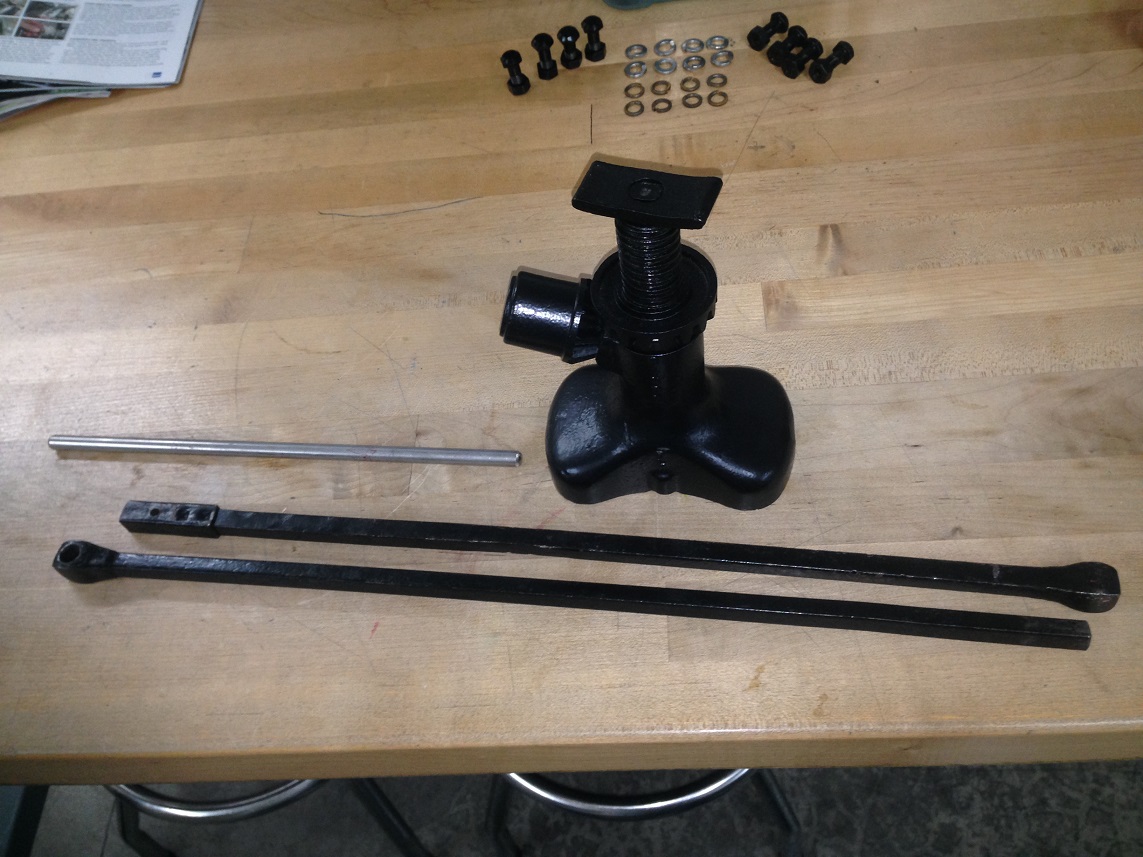
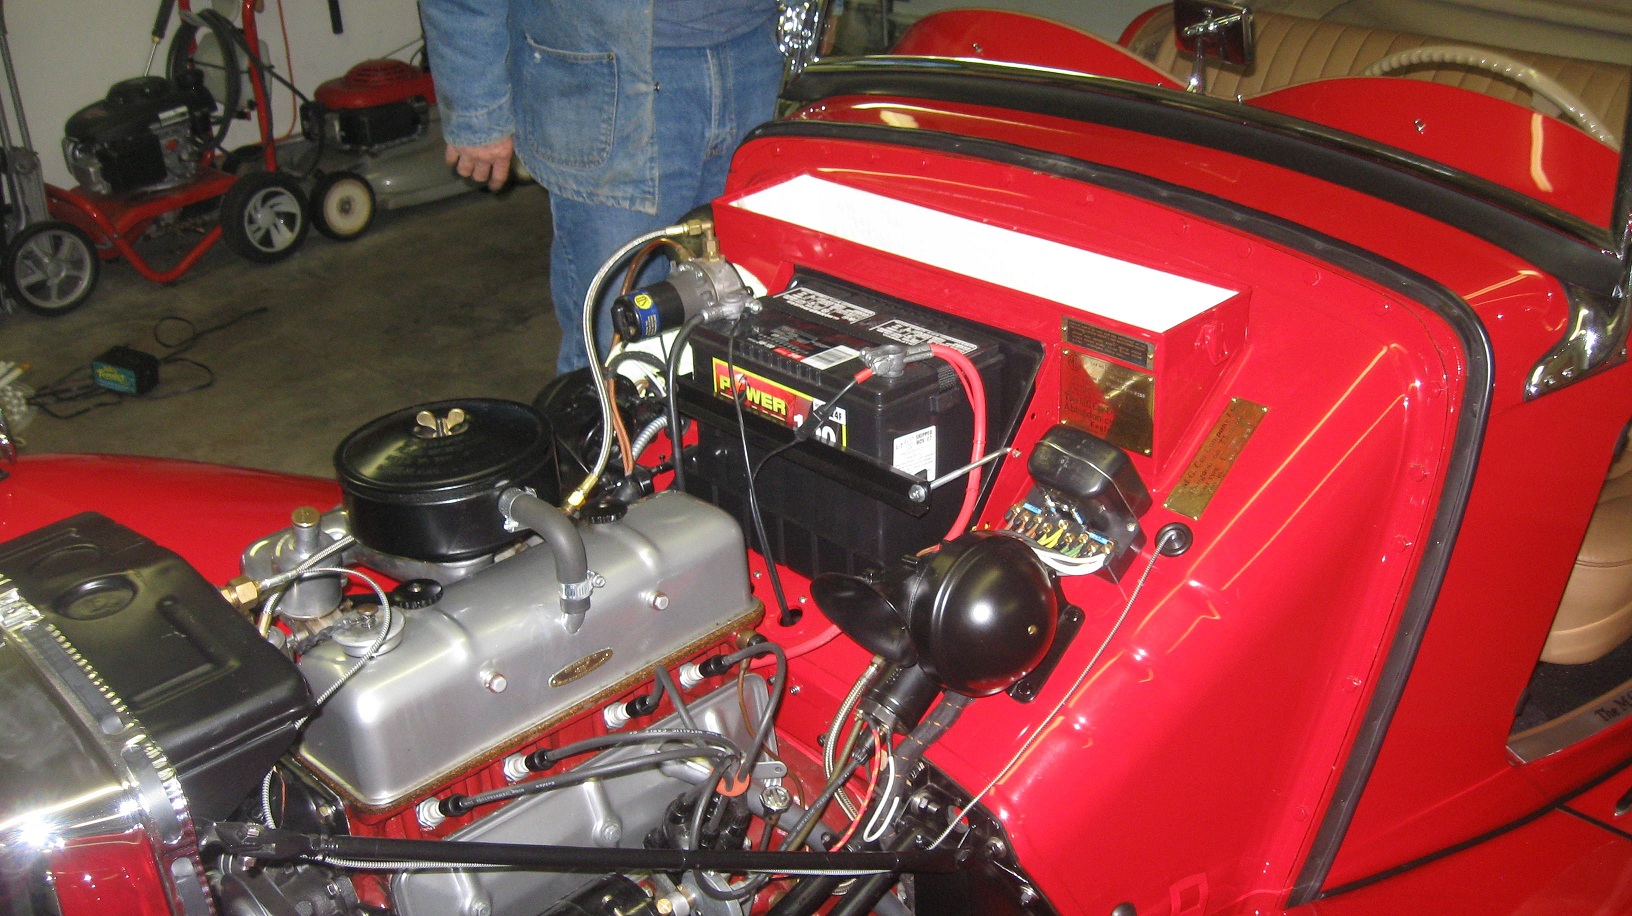
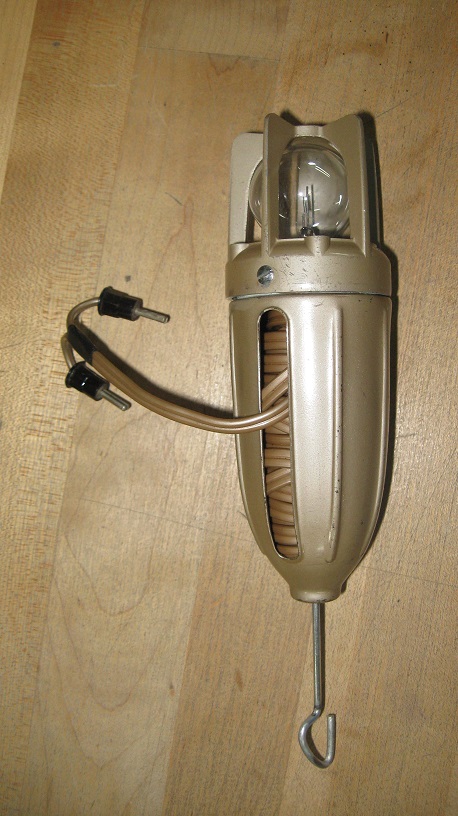
The original Arnolt decal was added to the face of the heater.  Also the lower 
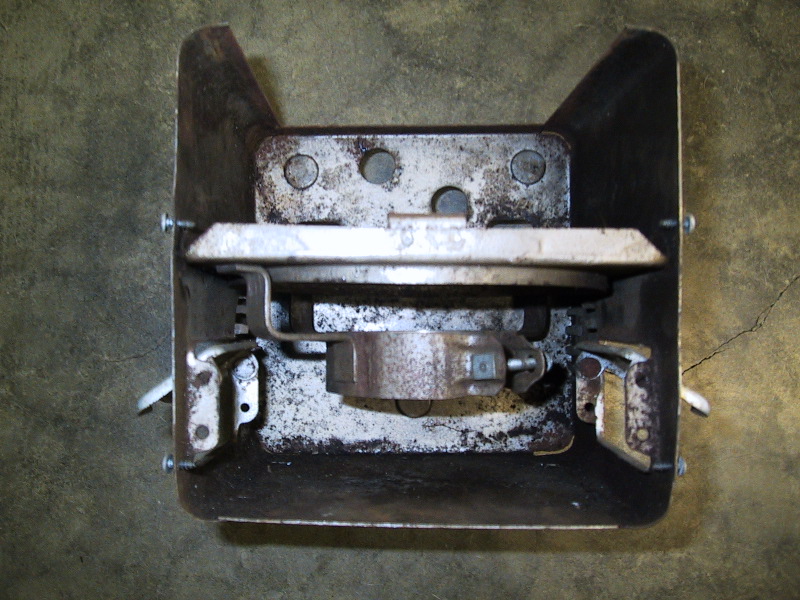
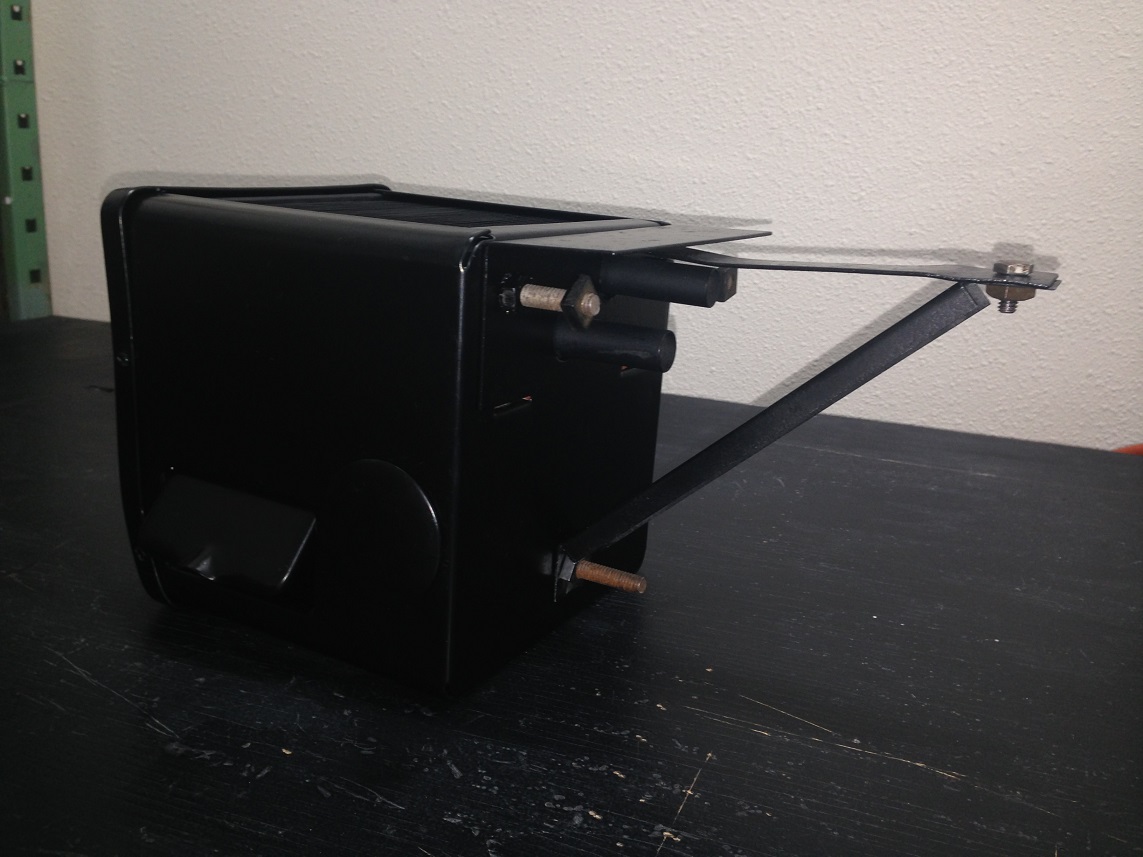
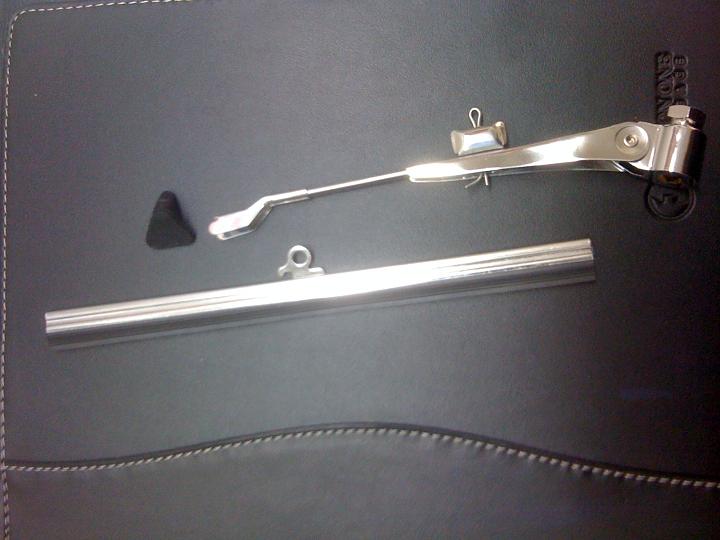
support bracket has been replaced.  I had to remove the battery and drill a hole in the protective battery tray.  This was to relieve pressure on the plastic from the head of the bolt which connects to the support brackets
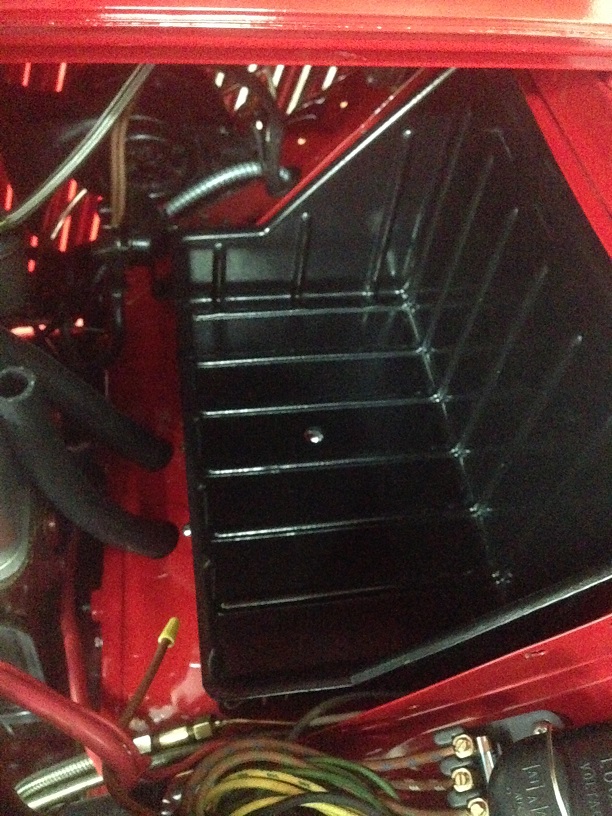
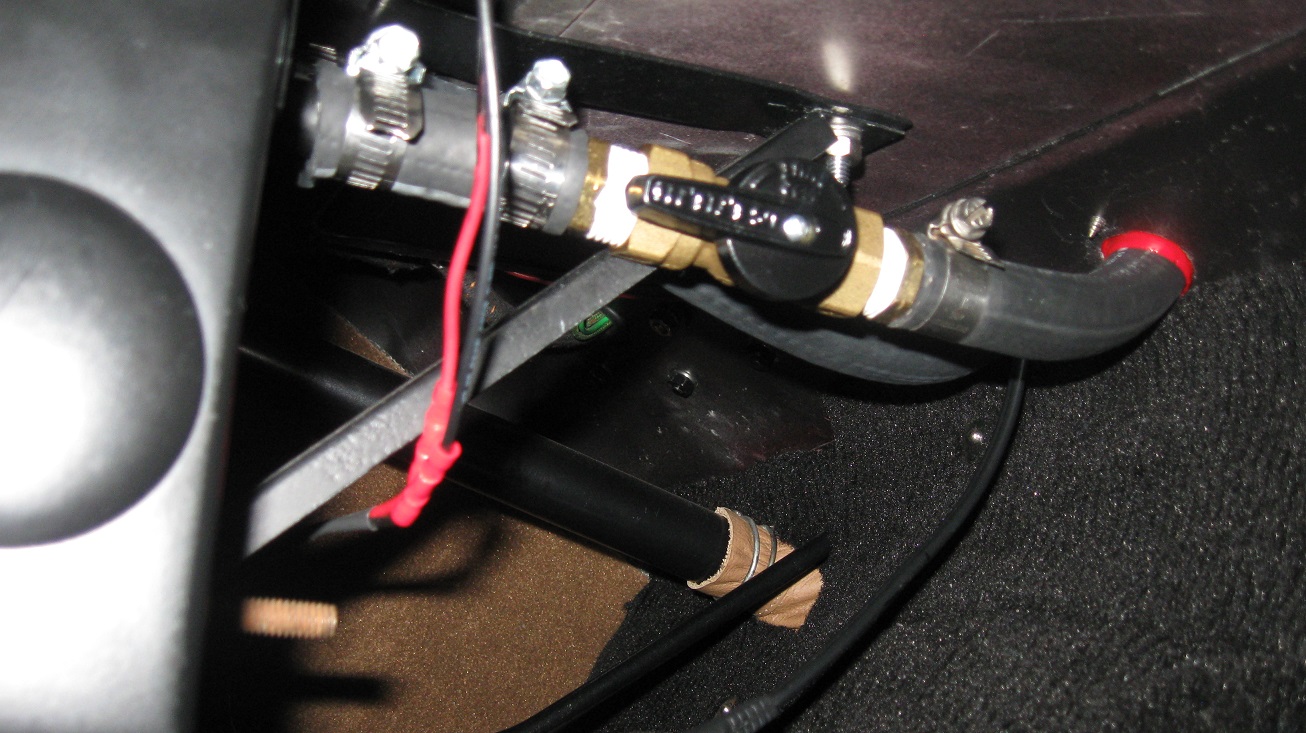
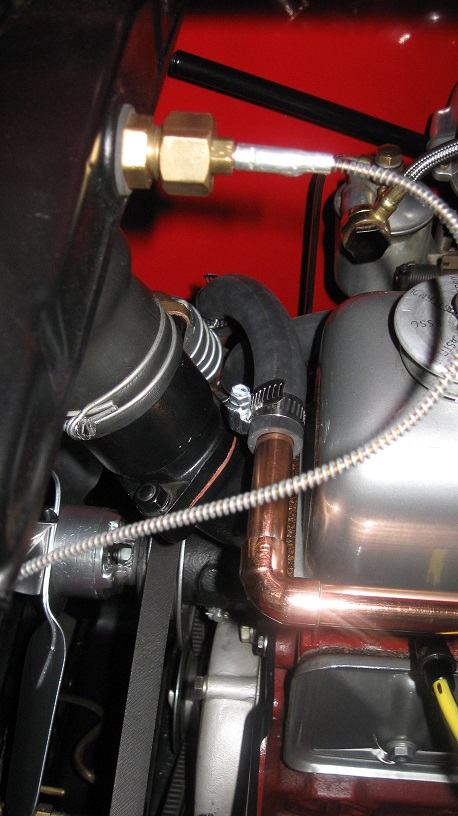
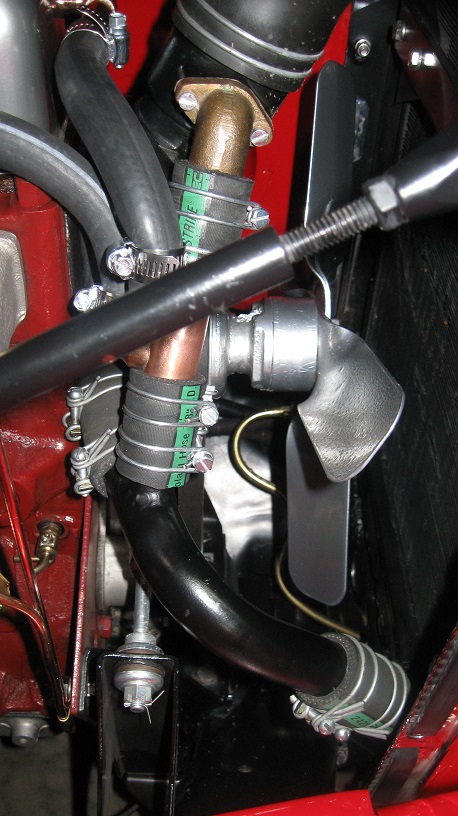
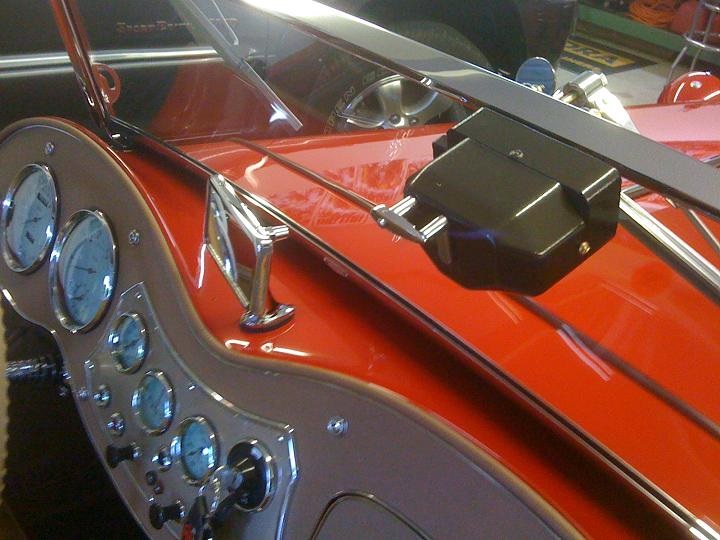
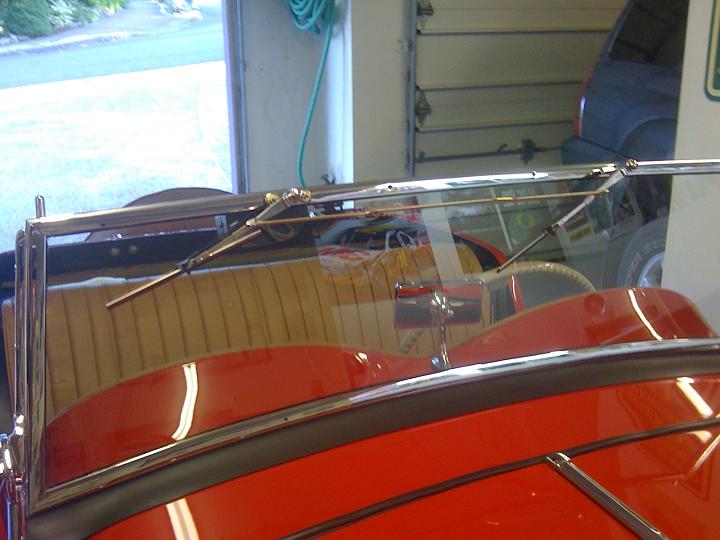
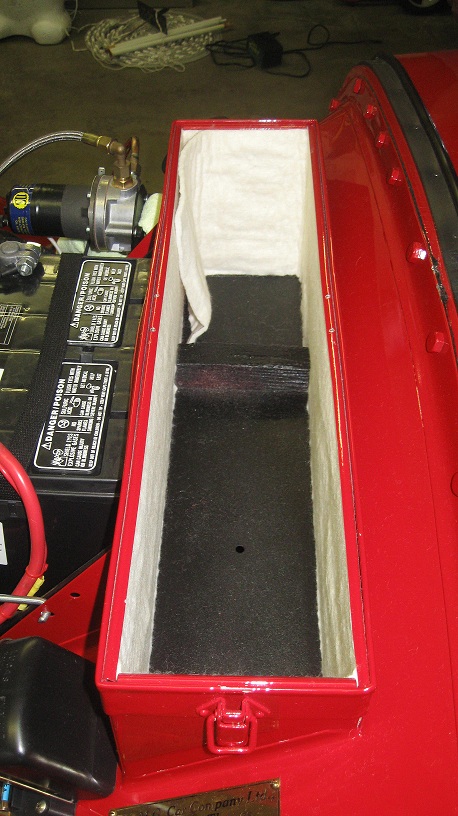
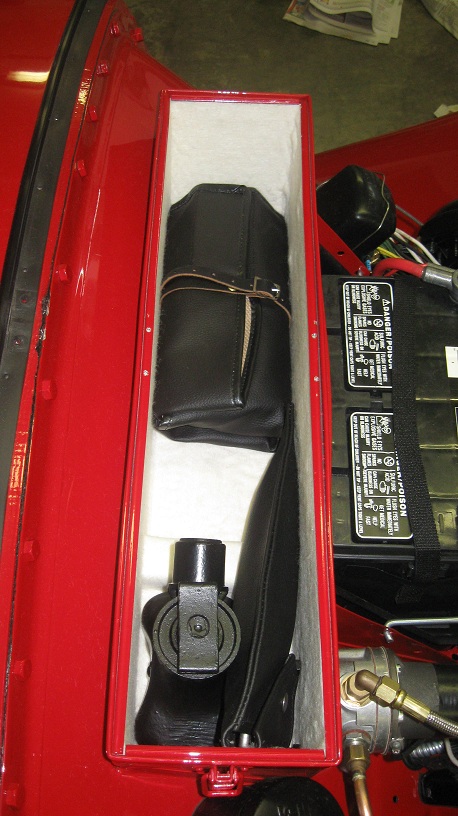
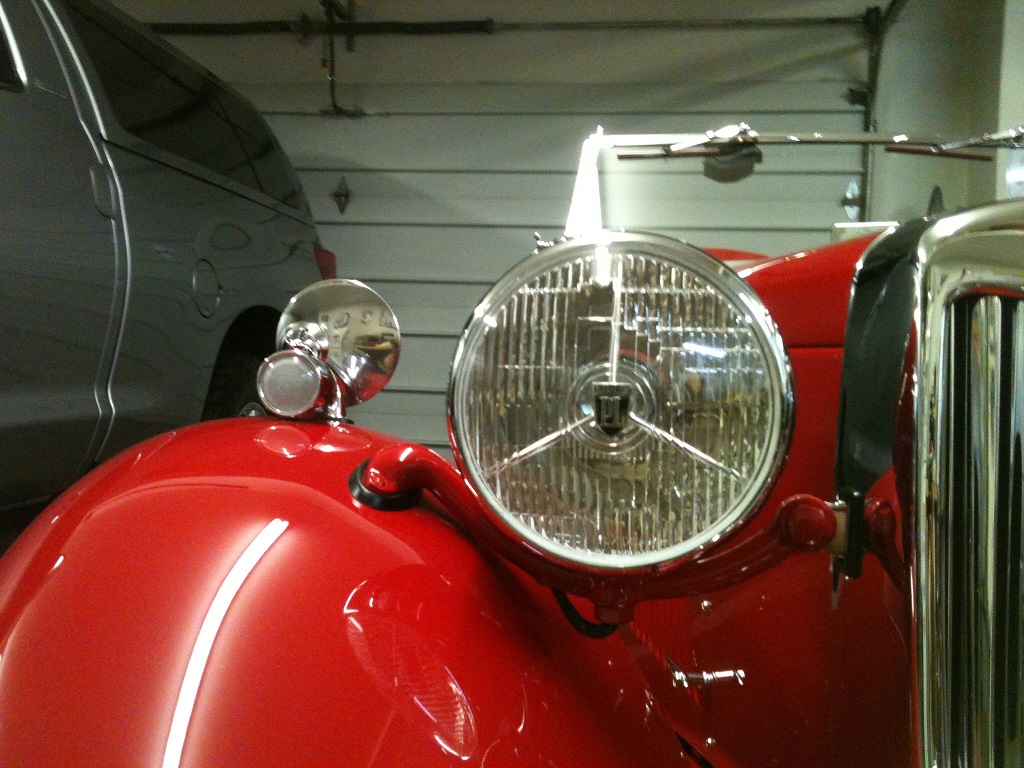
 below.  The heater is now installed
in the car with the shutoff valve located directly behind.  The hoses leave the passenger compartment
through 
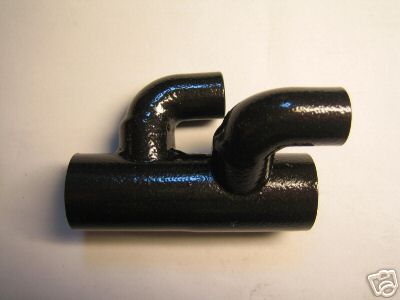
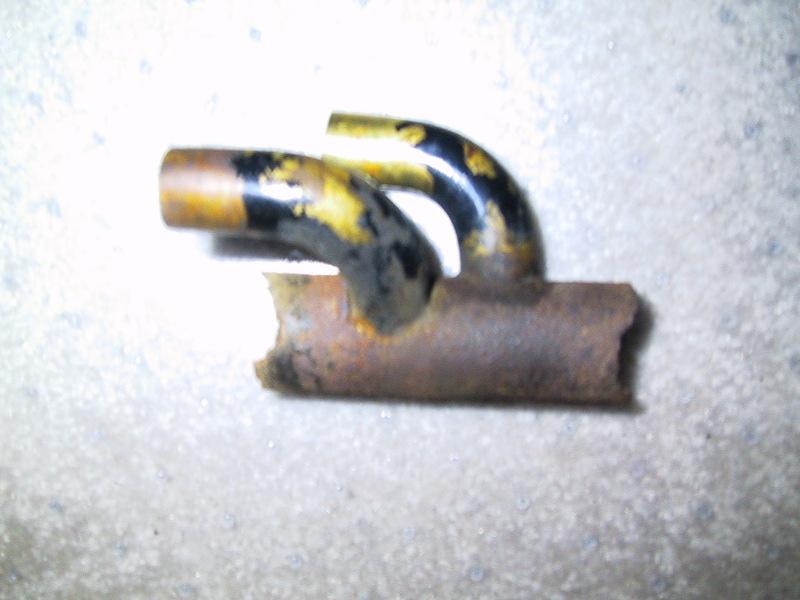
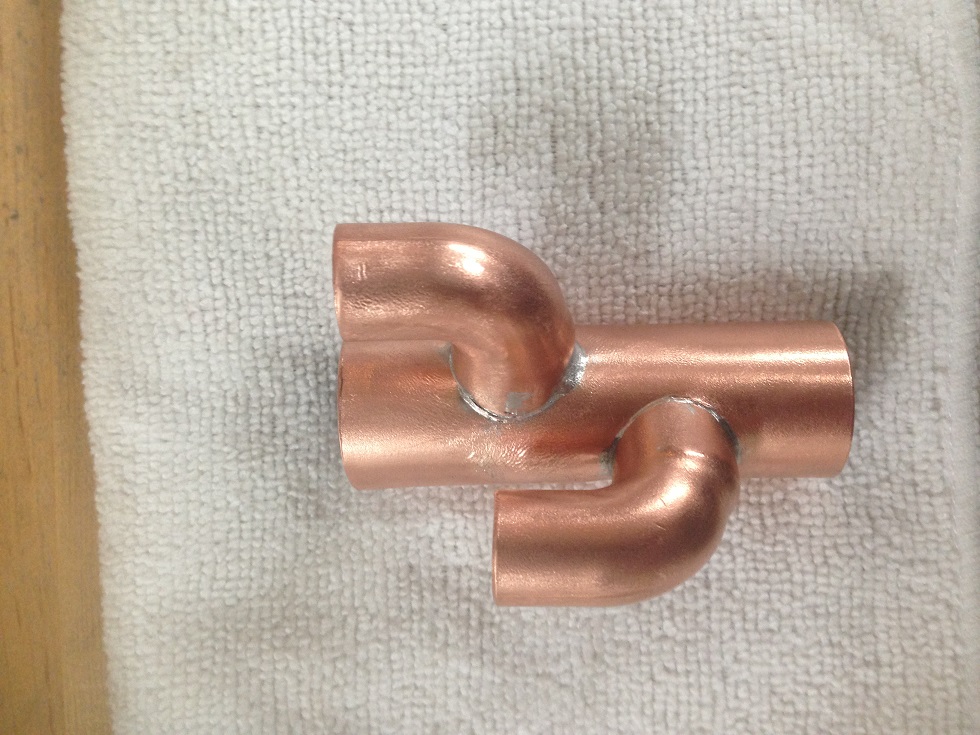
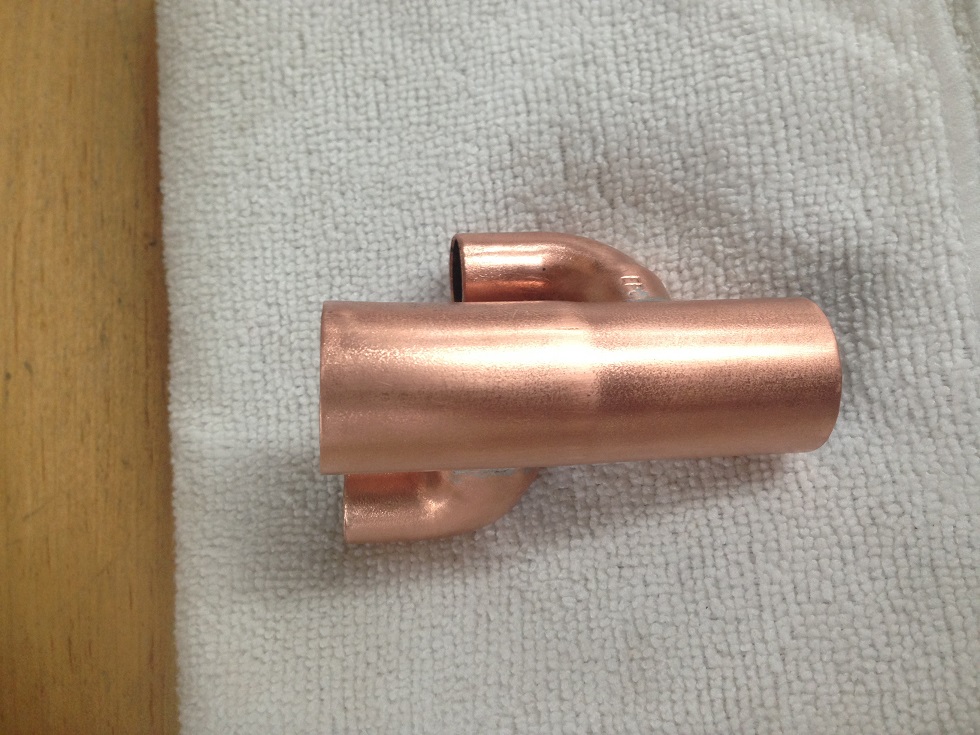
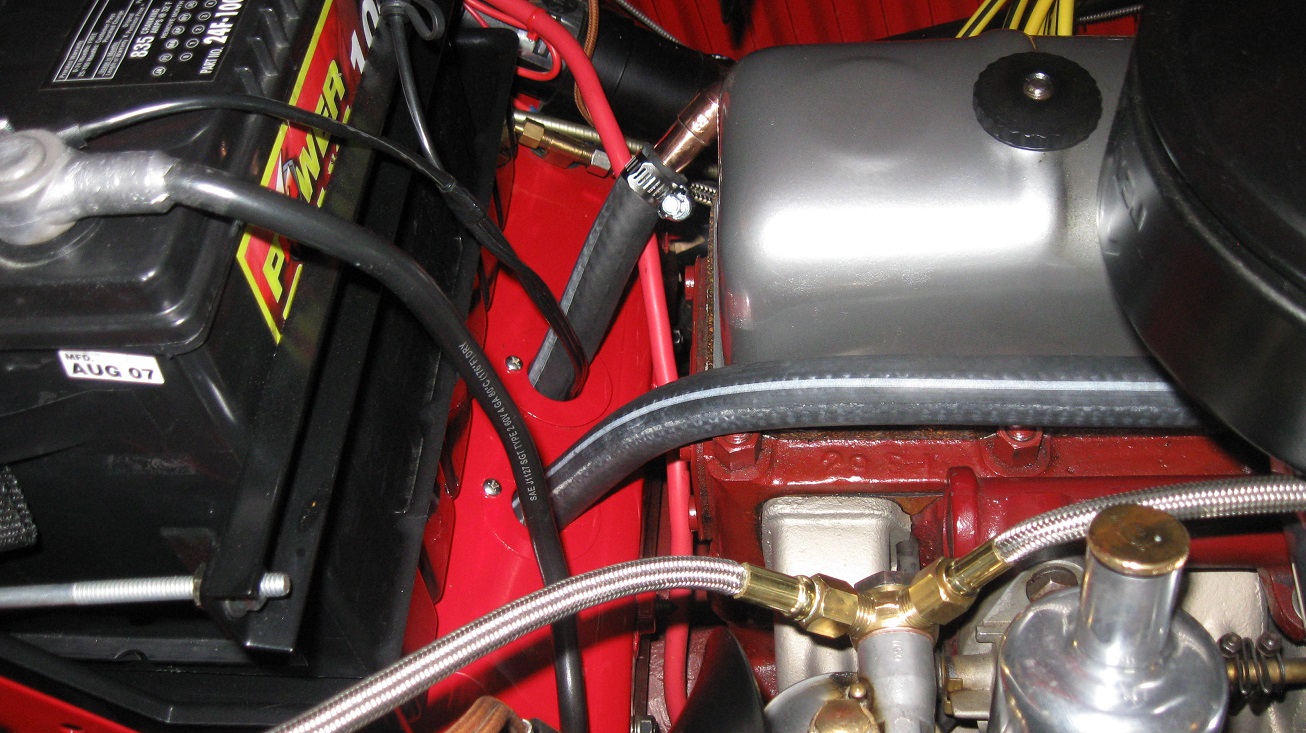
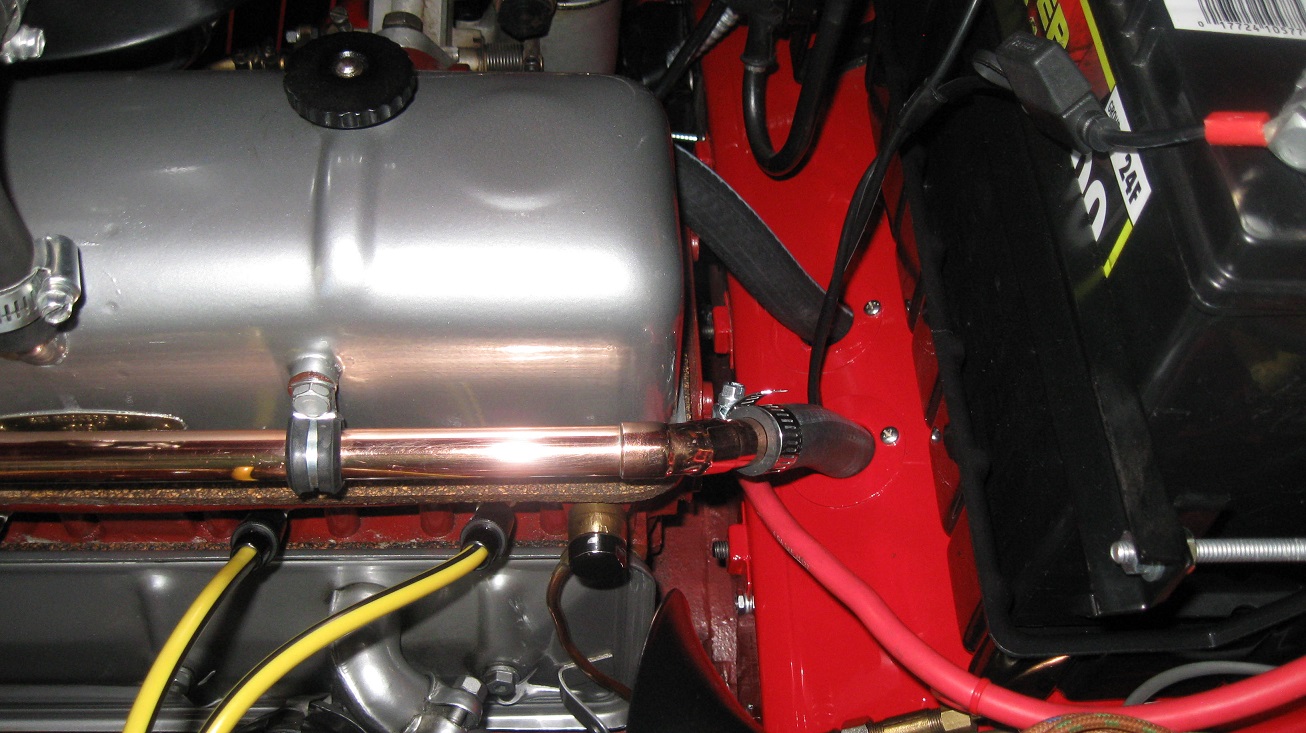
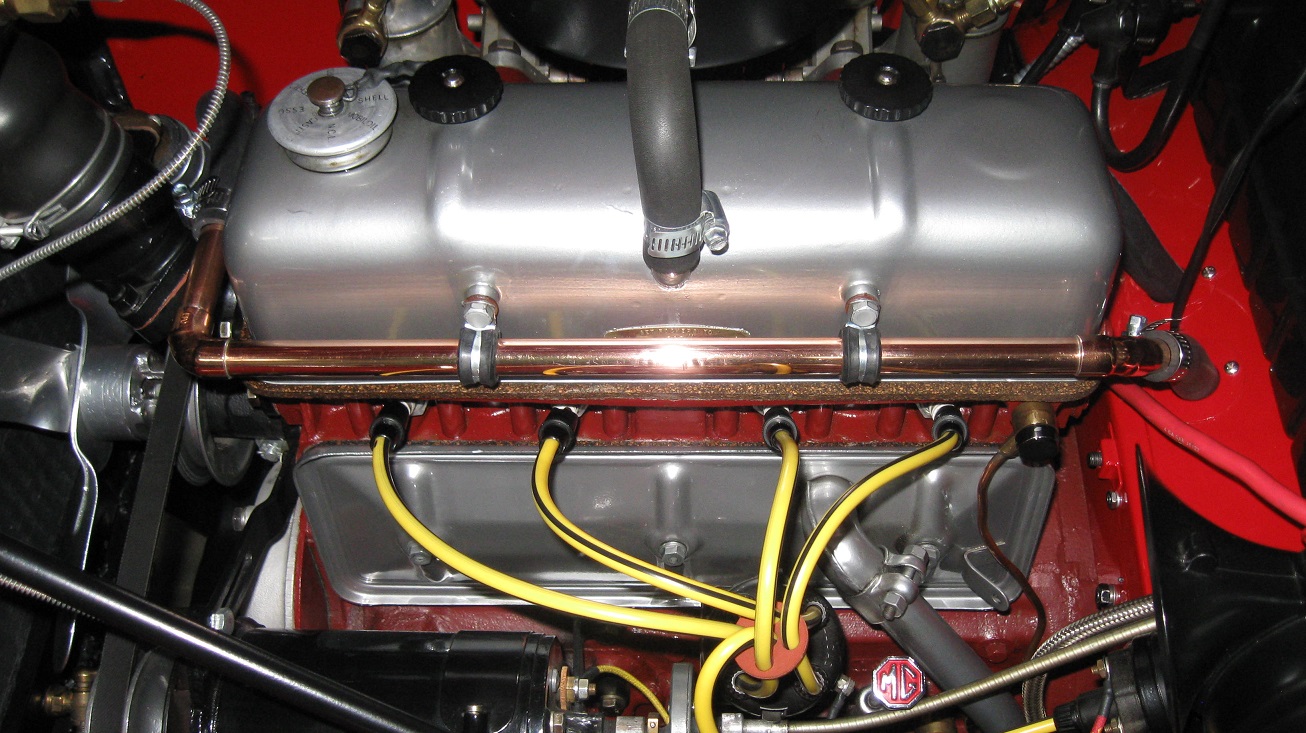
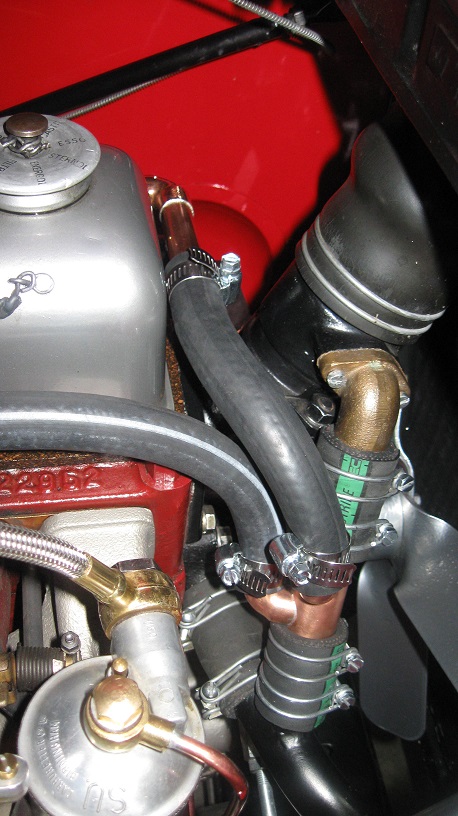
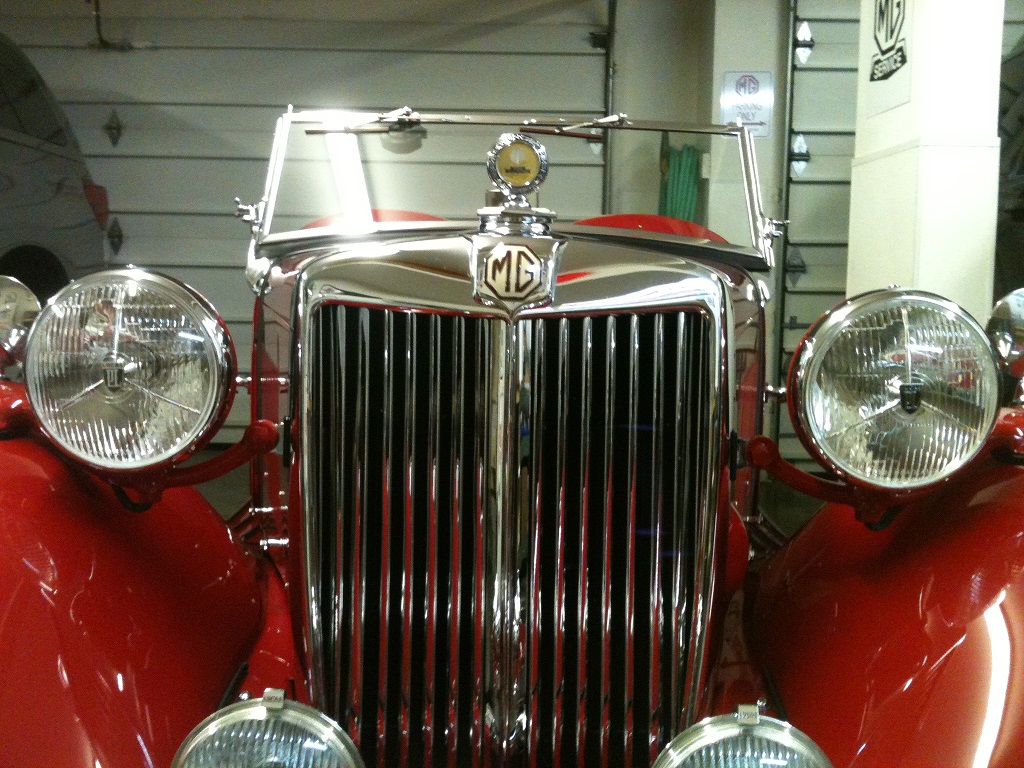
the bulkhead and enter the engine bay.  I chose to use a rubber hose on the passenger side of the 
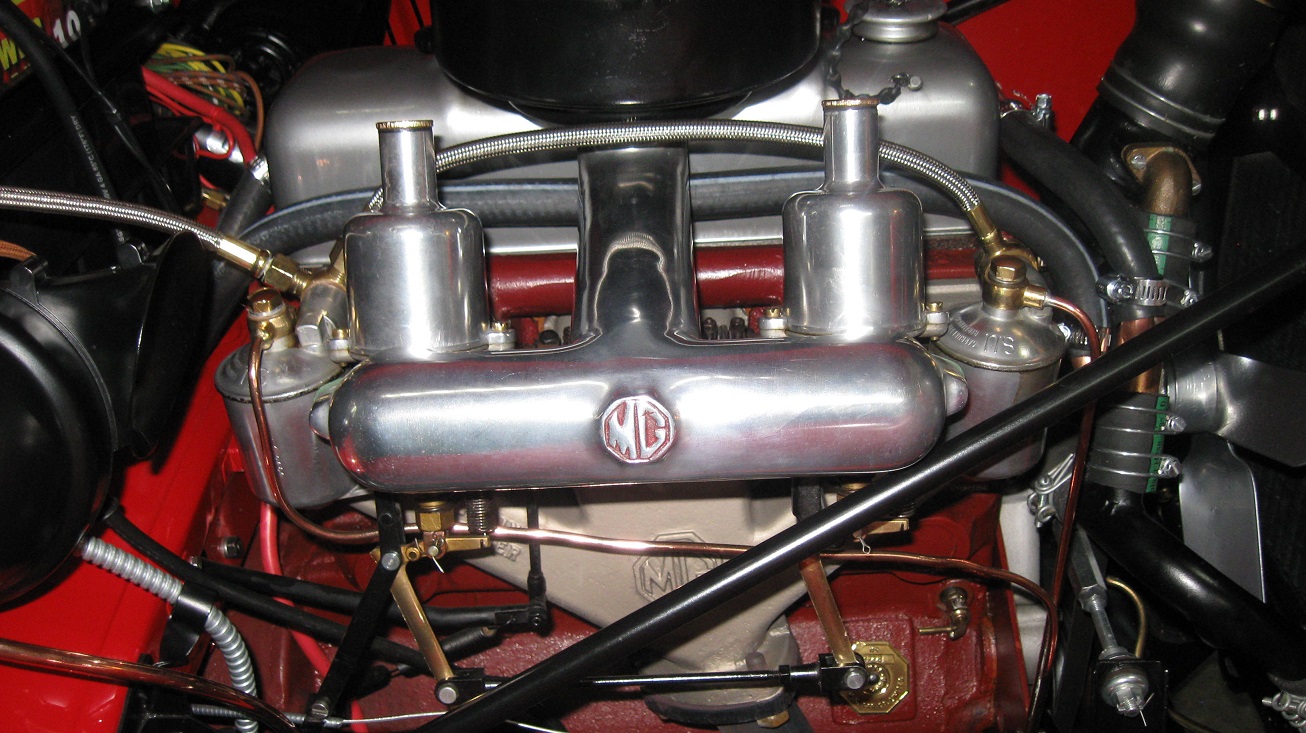
car (LHD) all the way to the bypass fitting, and copper tubing on the driver's side.  I tried to use as many of the original hose clamps as possible but was forced to use modern hose clamps in a few 
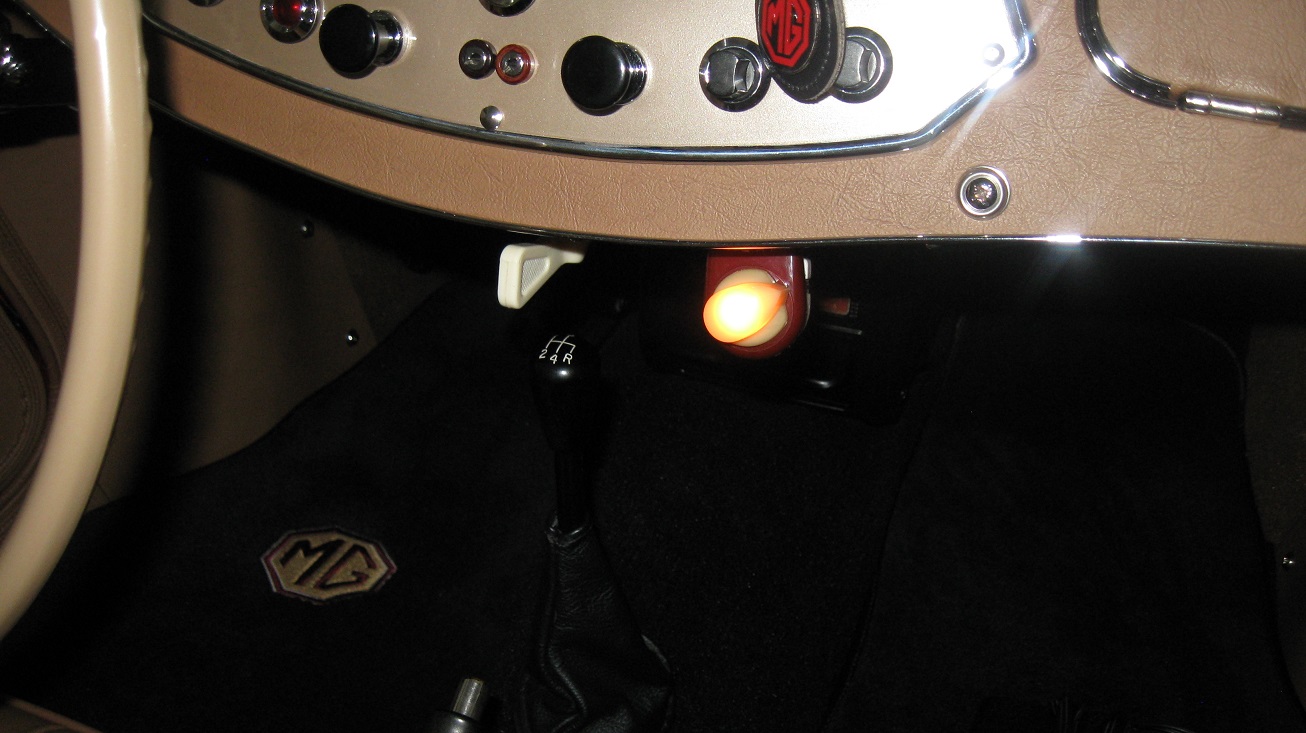
locations.  I also decided to go with a different style of 
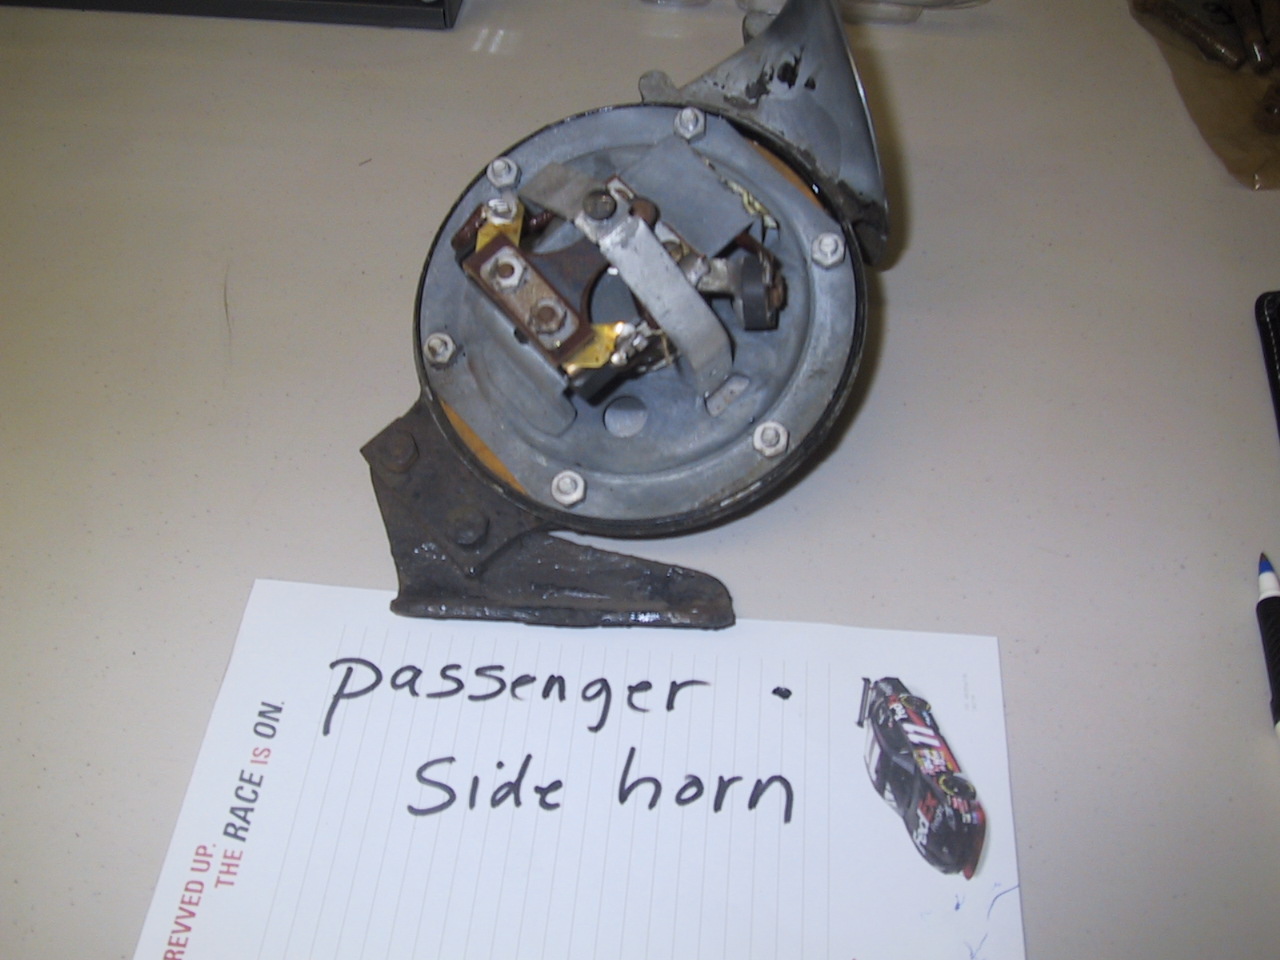
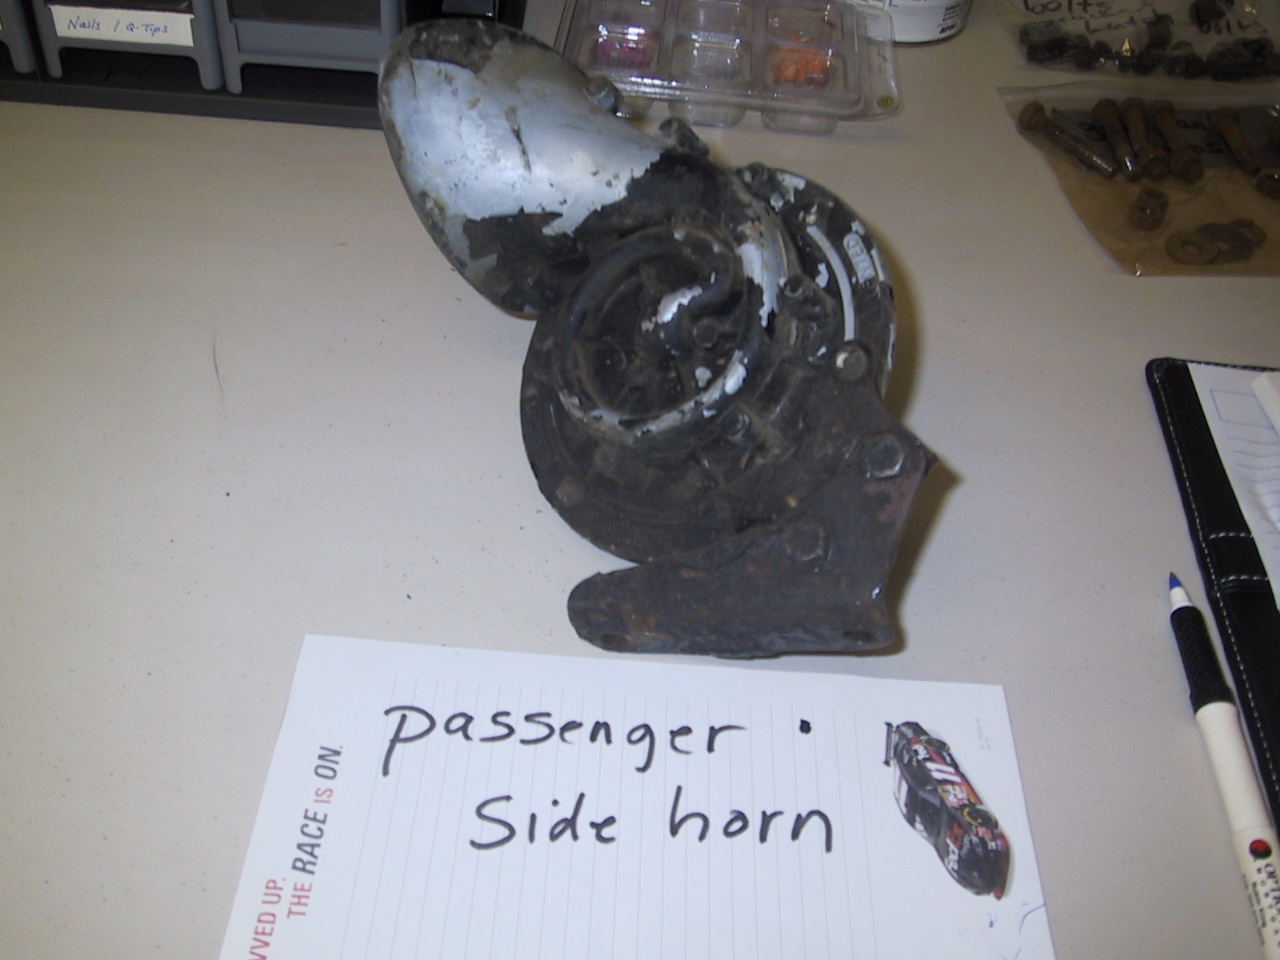
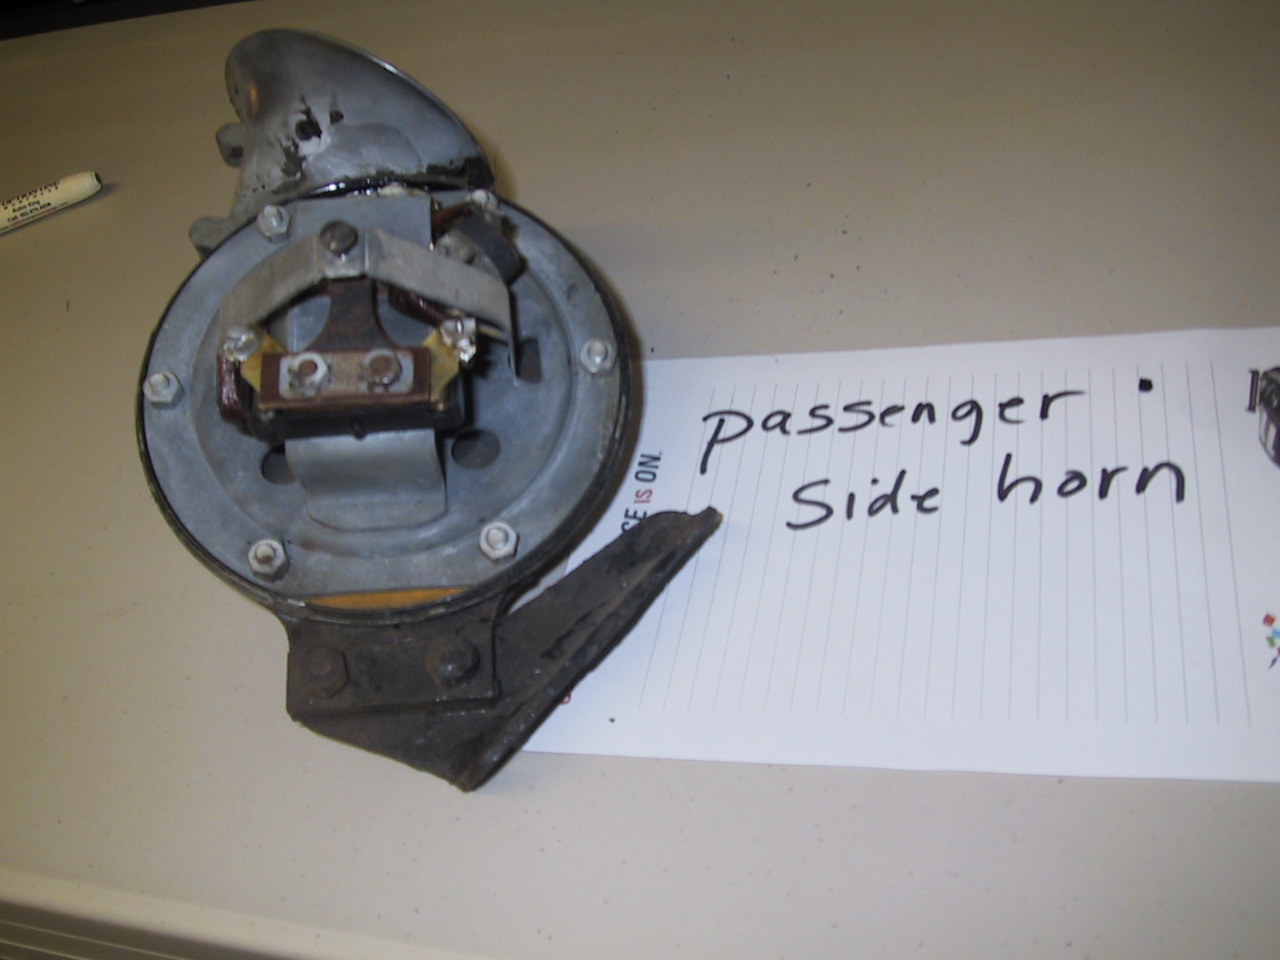
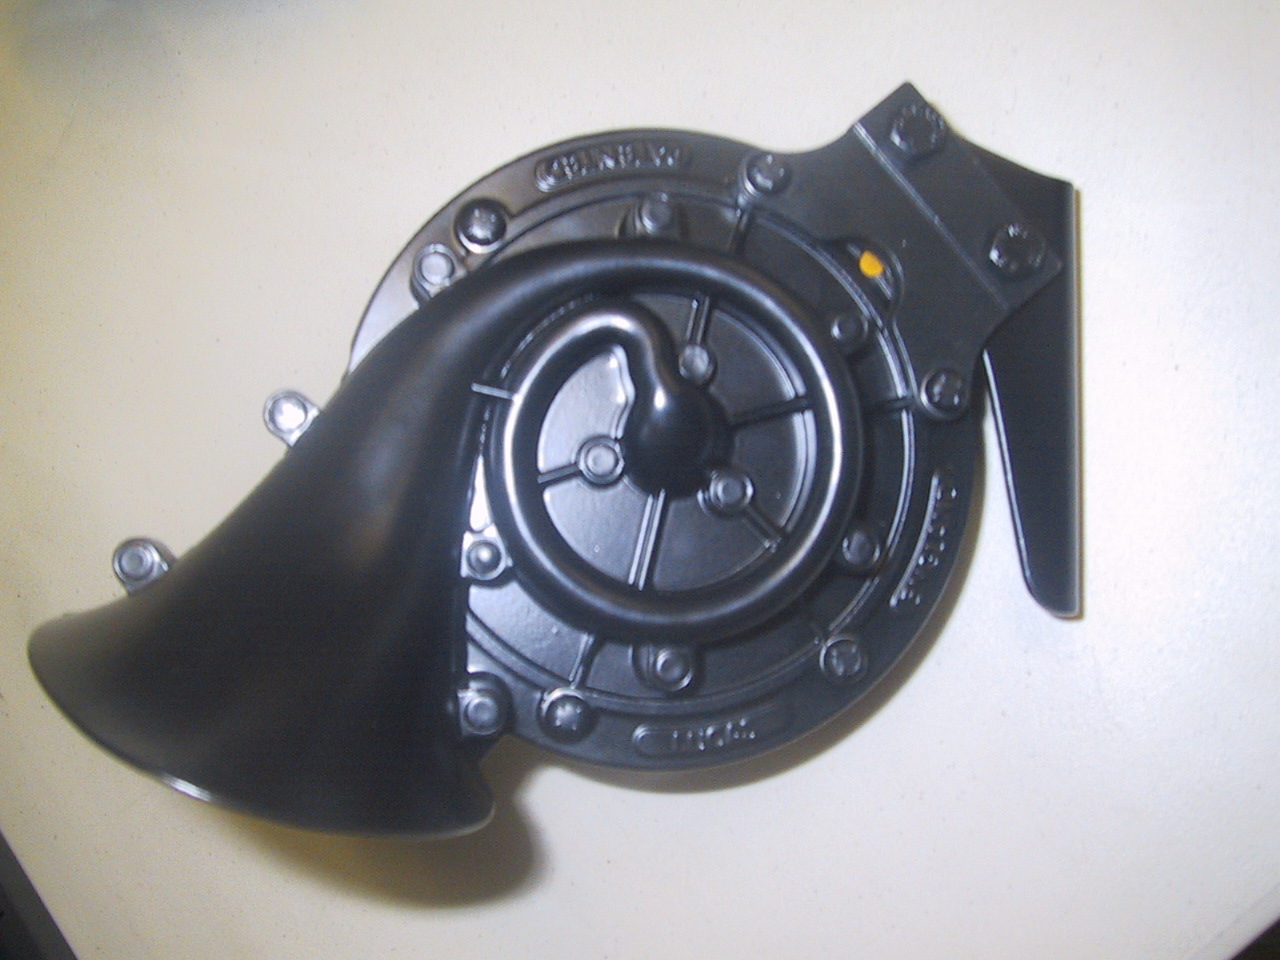
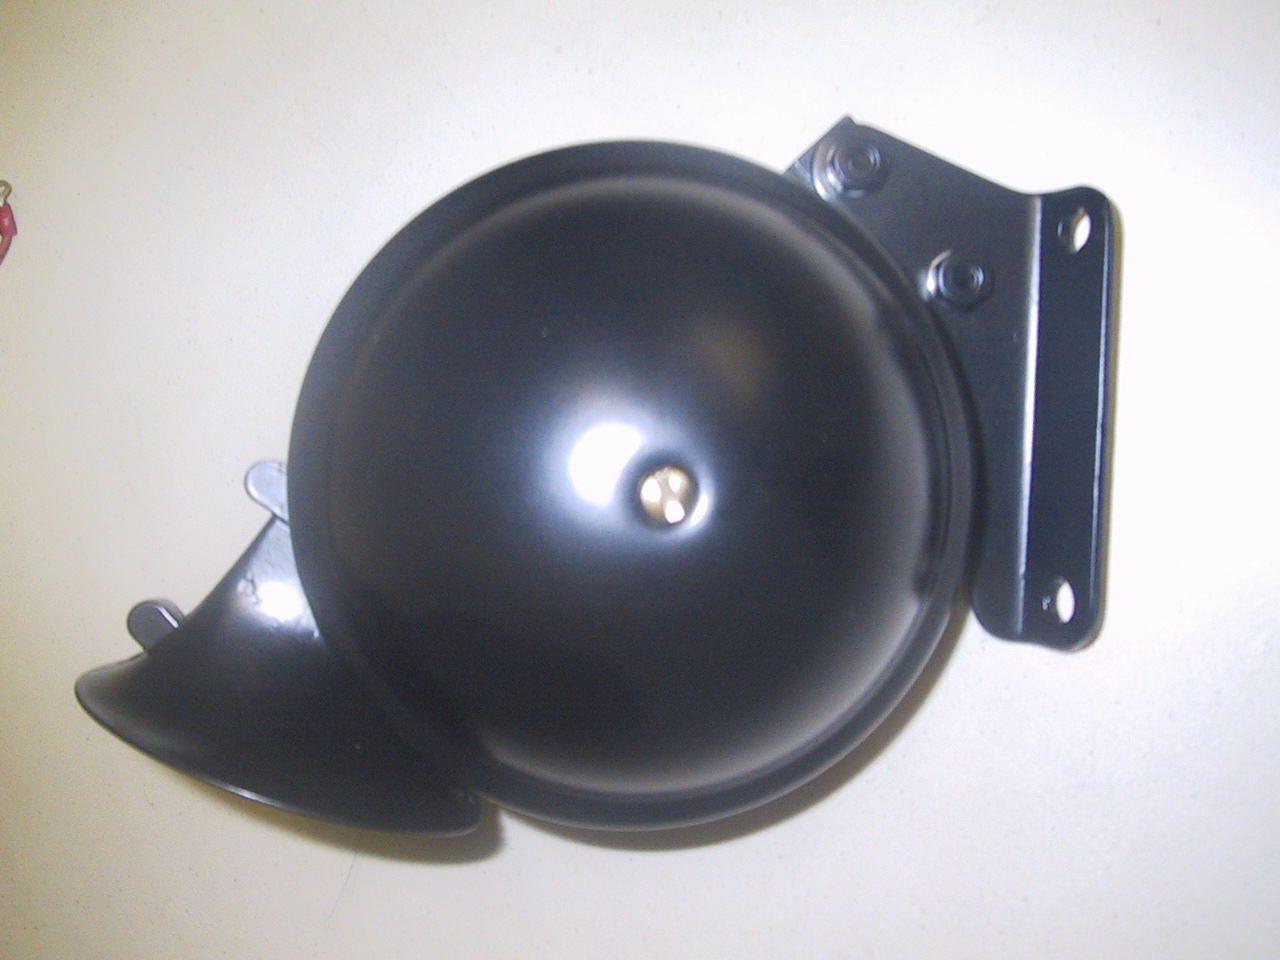
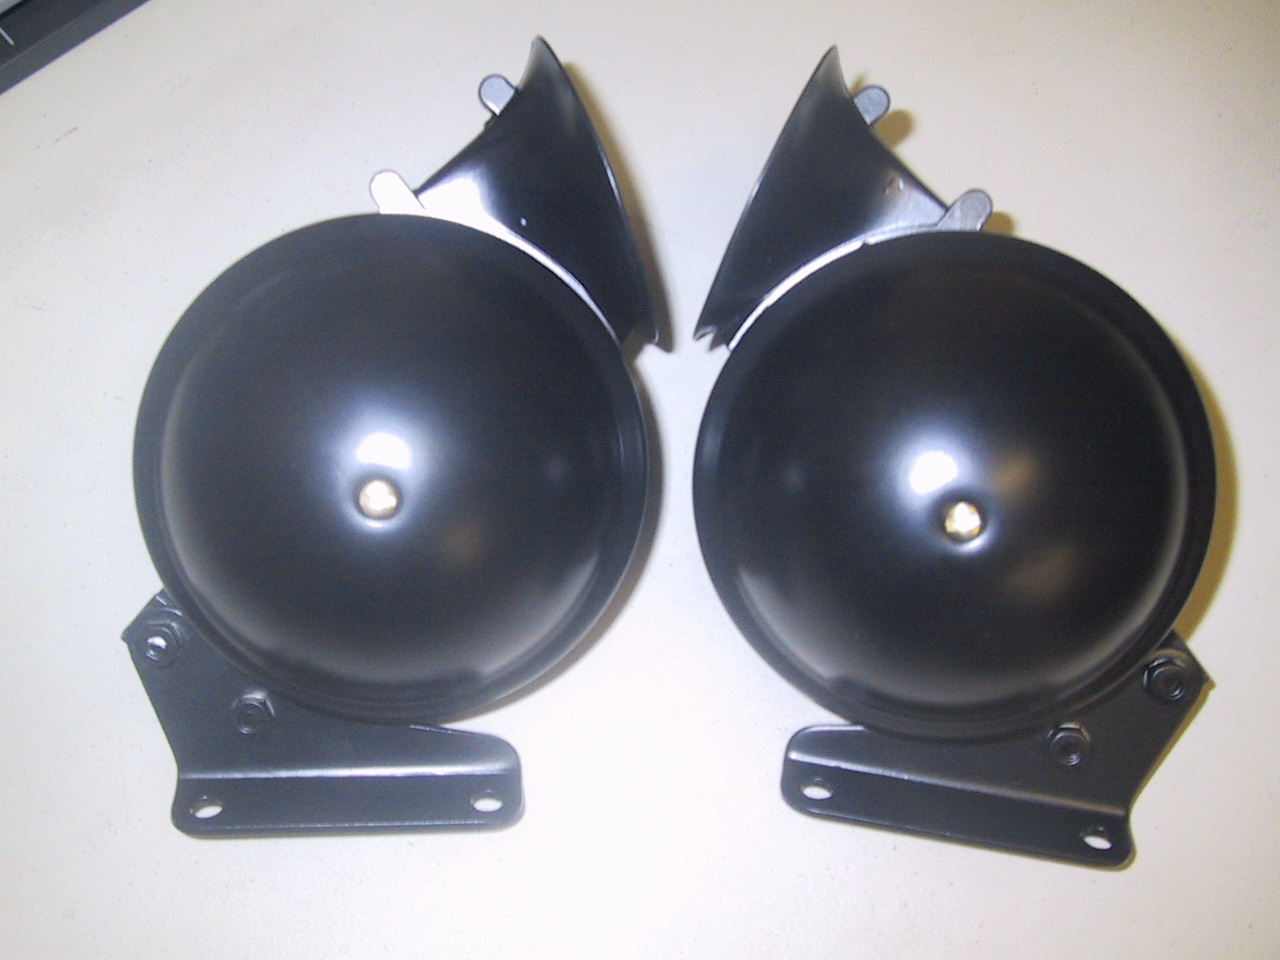
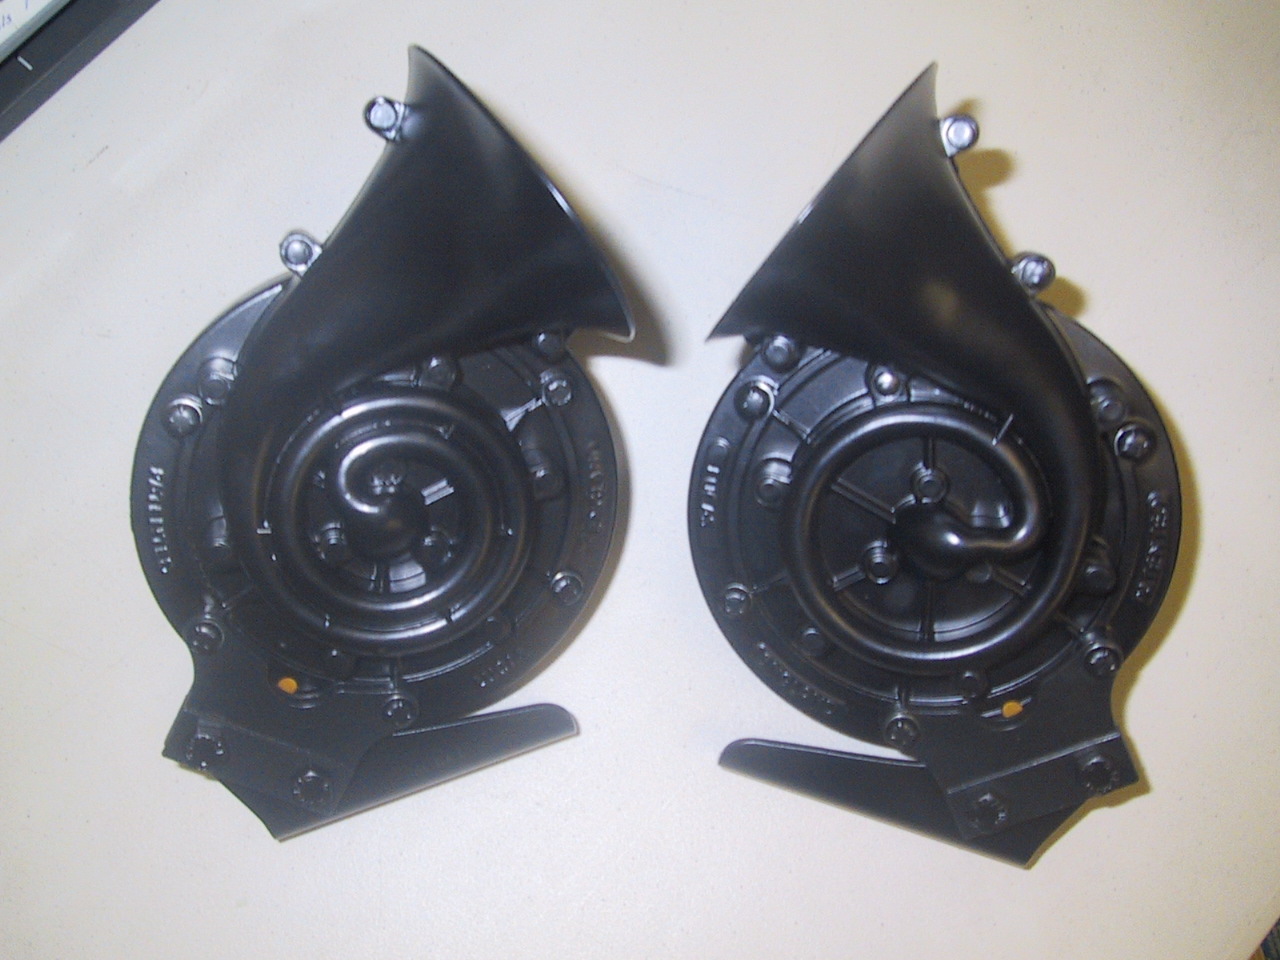
heater switch instead.  I grounded the heater and switch on the passenger side horn and got power from the A4 terminal on the regulator with an inline fuse at 7A.


February, 2009 Horn set before & after blasting and powder coat


February, 2009 Shell & grill re-chromed


July 23, 2011 Wiper Blades and motor in place.


September 11, 2011 Shelley Jack taken apart, sand blasted, and powder coated.  December 2013 Shelley Jack handles added to the collection. 
I still need to find the correct tommy bar.


December 31, 2012 Tool box lined with Moss motors white felt kit.


December 31, 2012 Tool kit.  Consists of 3 Flatplate Spanners 1/2" x 7/16, 5/16 x 3/8, 3/16 x 1/4 Whitworth,
1 Screwdriver. 2 Dunlop Tyre Levers. 1 7" Adjustable Spanner.
3 nesting Box Spanners, same whitworth sizes 1 pair 6" Pliers. 1 Tecalemit bent wire grease gun
.
1 Tommy Bar. 1 Hammer. Feeler gauge.


December 2013 The most recent picture of my tool kit.  I have also acquired an original made in England Sutty pump,
and a Lucas model 100 trouble light.


July 11, 2013 I added the Lucas PL 700 lamps which were a period accessory added to many cars in the day.  A touch of class!


November, 2013 (Modified May 2014) I purchased the Moss side curtain bags. I assumed each bag would have a MG patch, however that was not the case.
I was able to purchase three more patches from Moss and sew them on.  In addition Velcro was added to
each of the bags flaps so the curtains are secured when stowed.


December 2013 Heavy duty hub puller purchased on eBay.


December 2013 My first badge!


February 2015
Incandescent light bulbs (5) replaced with LED before and after.
Purchased on ebay from seller tiger1a (Item
300941108555).  $5 each plus $3.50 Shipping.


June, 2022 MWS Wire wheels purchased, mounted on Coker classic white wall tires.

 Page created by Rich King